 BuildWell
How to price electrical jobs
Price electrical work in finished houses. How each line is measured, old work vs new work, permits, and a kitchen lighting upgrade worked line by line.
Pricing by trade · 11 min read · Updated
The steps, in order
- 1
Count devices and trace the runs
Count every light, switch and receptacle, then trace each cable run and note whether it goes through open framing or finished walls.
- 2
Plan labor hours line by line
Multiply each count and each foot of cable by your own hours per unit, using your fishing rate wherever you go through drywall.
- 3
Add access and repair
Add box cut-ins and drywall patches for every access opening, and decide who paints them.
- 4
Take off the materials
Turn each line into cable, boxes, devices and breakers, counting cable once where lines overlap.
- 5
Add permit, inspections and overhead
Add the permit fee, any return trip for an inspection, and the job's share of overhead for every labor hour.
- 6
Mark up and present it
Mark up the total cost, group the lines by area, and state allowances, exclusions and how code corrections are priced.
Pricing electrical work comes down to the same equation as any job: price = materials + labor + other job costs + overhead + profit.
What makes electrical different is that the same device can be a quick job or a slow one, depending on where the cable runs.
A receptacle in an open stud wall and the same receptacle in a finished living room are priced from the same device line. But the second one needs fishing, a box cut into drywall and a patch. That gap is the first thing to check on any electrical price.
This guide shows where your labor hours per unit come from, then prices a kitchen lighting and circuit upgrade in a finished house. It covers the arithmetic, not your local prices: wages and material costs vary by metro and by week, so every dollar figure is yours to fill in.
For the general method, see how to price a construction job. For estimating software built for the trade, see the electrical industry page.
How electrical work is measured
Electrical estimates use two main units, plus the work it takes to reach them.
- Each: devices, fixtures, circuits and panels. Each line carries its own box, device and a short allowance of cable.
- Linear feet: cable runs longer than the device line allows, at the old-work rate through finished surfaces.
- Access and repair, each: old-work boxes cut into drywall and the patches at every opening you make to fish a run.
A per-device price is a form of unit pricing. Use it as a check, after building the estimate line by line.
The formula for an electrical price
- Quantity × labor hours per unit = labor hours for that line.
- Labor hours × your full hourly labor cost = labor cost. That cost is the wage plus labor burden: payroll taxes, workers' compensation and benefits.
- Materials at what you will pay near the job now: cable, boxes, devices, breakers and fixtures.
- Other job costs: the building permit, any inspection return trip, disposal.
- Overhead for every labor hour: the van, testers, license renewals, insurance and the office, spread over the hours you bill.
- Profit, as a markup on the total cost or a target margin.
The labor rate guide and the labor rate calculator build your rate from your pay, burden and billable hours.
Where your labor hours per unit come from
The hours per unit are the part of the price only you can supply, because they belong to your crew. A published table can't know how your electricians work or how the houses in your area are built. Your own jobs can.
Record hours and count, then divide
Job costing is how you get them. On every job, record the hours each line took and the count or footage it covered, then divide. Keep cable in hours per 100 feet so the numbers stay readable.
After a handful of jobs you have hours you can price from. After a season you can see how they move with the house.
Track each line, not one electrical rate
Keep a separate number for each:
| Line | Measured in |
|---|---|
| Removing and making safe old devices and fixtures | Each |
| Cable through open framing | Linear feet |
| Cable fished through finished walls and ceilings | Linear feet |
| Old-work box cut into drywall | Each |
| Standard receptacle | Each |
| GFCI receptacle | Each |
| Single-pole switch | Each |
| Three-way switch pair | Each |
| Remodel recessed light | Each |
| Under-cabinet light bar | Each |
| Smoke and carbon monoxide alarm | Each |
| Dedicated appliance circuit | Each |
| 240-volt appliance circuit | Each |
| Service panel replacement | Each |
| Drywall patch at an access opening | Each |
| Testing, labeling and cleanup | Each |
Count labor hours, not crew hours
An electrician and a helper working an 8-hour day is 16 labor hours.
Decide what each per-each line includes, such as the short run of cable to the next box. Keep it the same every time, so the hours you track and the hours you price mean the same thing.
Fished cable takes far longer per foot
Fishing a foot of cable through a finished wall takes far longer than pulling it through open studs. And the fishing line is only the cable: the cut-in and the patch at each opening are their own lines.
Permits, inspections and old work
Inspections can mean a second visit
Many jurisdictions require a permit for new circuits, panel work and service changes, and some require one for adding lights or receptacles. Expect at least a final inspection, and often a rough-in inspection before walls are closed.
That matters on remodel work. If the inspector has to see the cable before you patch the access openings, the patches happen on a second visit. Price that return trip.
GFCI and AFCI rules change the price
GFCI and AFCI protection requirements vary by jurisdiction and by the code edition it has adopted. They can apply to circuits you extend or modify, not only to new ones.
Protected breakers and devices cost more than standard ones. Check what your inspector expects before you price, and buy what will pass.
Old work costs more than new work
New work is cable through open studs and joists: a gutted remodel, a basement before drywall, an addition. Old work is everything after the drywall is up.
In old work, each run is fished through closed cavities and each new device needs a box cut into the wall. Every spot where the cable crosses a top plate or a joist means an access opening and a patch.
Price the run at the fishing rate, count the cut-ins and patches, and say who paints.
Taking off electrical materials
Turn each line into what you buy, and round up to the package.
- Cable: by the coil. Measure each run on the plan, add slack for the drops and the makeup at each box, and round up to the coil sizes sold. When two lines cover the same run, count the cable once.
- Boxes: new-work or old-work to match the wall. Where you reuse an existing box, delete the box from that line.
- Breakers: by type. A standard, AFCI, GFCI or dual-function breaker are different prices.
- Fixtures: by model, or as an allowance.
Worked example: a kitchen lighting and circuit upgrade
Example: A homeowner wants better light and a dishwasher circuit in a finished 12 × 14-foot kitchen with 8-foot ceilings. There is a bedroom above and an unfinished basement below with the panel.
- Remove the center ceiling fixture and its box, and patch the hole.
- Install six remodel recessed lights in two rows of three, about 4.5 feet apart along each row, with the rows 6 feet apart.
- Switch the lights from both doorways: reuse the old switch box at the hall door and cut in a new box at the patio door.
- Add four under-cabinet light bars on one driver above the cabinets, fed from the lighting circuit and switched at the bars.
- Replace three countertop receptacles with GFCI receptacles.
- Run a dedicated dishwasher circuit 40 feet through open basement joists, up into the sink base.
Measure the runs and count the work
- Fished runs: each switch leg goes 7 feet up the wall and 3 feet across the ceiling to the nearest light, 2 × 10 = 20 feet. The driver feed goes 6 feet across the ceiling and 2 feet down to the top of the cabinets, 8 feet. That is 28 feet fished.
- Runs between the lights: 4 × 4.5 + 6 = 24 feet, from can hole to can hole. In this example the per-light hours include them.
- Open framing: the dishwasher run, 40 feet.
- Demo: the old fixture, the old switch and three receptacles: 5.
- Patches: the old fixture hole plus three access openings where the runs cross framing: 4.
Labor hours by line
Say your crew's own records show the hours per unit below. They are example inputs to show the arithmetic, not a standard: use your own.
| Task | Quantity | Example hours per unit | Labor hours |
|---|---|---|---|
| Remove and make safe the old fixture, switch and receptacles | 5 | 0.5 hours each | 2.50 |
| Cut in and wire the recessed lights, with the runs between them | 6 | 1.25 hours each | 7.50 |
| Wire the three-way switch pair | 1 | 2 hours each | 2.00 |
| Cut in the old-work box | 1 | 0.5 hours each | 0.50 |
| Fish the switch legs and driver feed | 28 lf | 10 hours per 100 lf | 2.80 |
| Mount and connect the light bars | 4 | 0.75 hours each | 3.00 |
| Swap in the GFCI receptacles | 3 | 0.5 hours each | 1.50 |
| Dishwasher circuit, breaker to receptacle | 1 | 1.5 hours each | 1.50 |
| Run the 12/2 through the basement joists | 40 lf | 4 hours per 100 lf | 1.60 |
| Patch the access openings | 4 | 1 hour each | 4.00 |
| Testing, panel labeling and cleanup | 1 | 1.5 hours each | 1.50 |
| Total | 28.40 |
The check: 2.5 + 7.5 + 2 + 0.5 + 2.8 + 3 + 1.5 + 1.5 + 1.6 + 4 + 1.5 = 28.4 labor hours. For an electrician and a helper, that is about two days, plus a return visit if the patches wait for a rough-in inspection.
Old work adds 6.18 hours here
If the same crew pulls cable through open framing at 4 hours per 100 feet, the same 28 feet would be 28 × 0.04 = 1.12 hours, not 2.8. That is 1.68 more hours of cable.
Add 0.5 for the cut-in and 4 for the patches, and the finished kitchen costs 6.18 more hours than the same scope with the walls open.
Materials for the kitchen upgrade
From the run lengths above, with a foot of slack at each end of each run for the makeup in the boxes:
- 14/2 cable: 24 feet between the lights plus 10 feet of slack, and 8 feet for the driver feed plus 2, 44 feet. One 50-foot coil.
- 14/3 cable: the two switch legs, 20 feet plus 4 of slack, 24 feet. A 25-foot coil leaves no room for a mistake, so buy a 50-foot coil.
- 12/2 cable: the 40-foot run plus a few feet at the panel and at the box, about 45 feet. One 50-foot coil.
- Lights and bars: 6 housings and 6 trims, 4 light bars with the low-voltage leads from the driver to each bar measured along the cabinet tops, and a driver if the bars do not include one.
- Devices: 2 three-way switches, 3 GFCI receptacles, 1 receptacle for the dishwasher (a GFCI if your code edition requires one), 6 plates, 1 old-work box, and 1 breaker of the type your inspector requires. No new box where the old one stays.
- Patches: the old fixture hole and three access openings, each about a foot square or smaller. Drywall scraps, backing strips, 1 bag of setting compound, 1 roll of mesh tape and a few sanding sponges.
- Sealing and supplies: 1 can of spray foam where the runs pass through framing, plus wire connectors and staples.
Price each item near the job and call the total M.
Building the price
| Line | How to get it |
|---|---|
| Labor | 28.4 hours × your full hourly labor cost |
| Overhead | 28.4 hours × your overhead per billable hour |
| Materials | M, from the takeoff above |
| Permit | Your local electrical permit fee |
| Inspection return trip | The hours for a second visit, if required, × your labor cost and overhead |
| Total cost | The sum of the five lines |
| Price | Total cost × (1 + your markup) |
Markup is not margin
With a 25% markup, the price is the total cost × 1.25, a 20% margin. A 20% markup is only about a 16.7% margin. The markup vs margin guide explains why, and the job cost calculator adds the lines up.
Common electrical pricing mistakes
- Pricing old work at new-work rates. Fishing takes far more hours per foot. Trace the route before you price it.
- Forgetting the access work. Every cut-in and every patch is a line. So is deciding who paints.
- The wrong breaker. Price the protected breaker the circuit needs, not a standard one.
- Pricing what you found as if it were included. Problems in existing wiring are a change order, priced before the work.
- Counting cable twice. If your per-light or per-device hours include the short run to the next box, do not add that footage again as a cable line.
How to present an electrical estimate
- Group the lines by system: lighting, receptacles, the new circuit, patching.
- Name the fixtures and trims, or carry an allowance for each.
- Put the permit in writing, with the fee and the inspection plan.
- List exclusions: painting the patches, cabinet changes, and correcting existing wiring found during the work. The change order guide covers how to price those.
- State the warranty, the deposit and the expiration date.
The electrical estimate template lays these sections out, and the electrical invoice template bills the work. For a one-off estimate, the free estimate generator makes a clean PDF.
Pricing electrical jobs with BuildWell
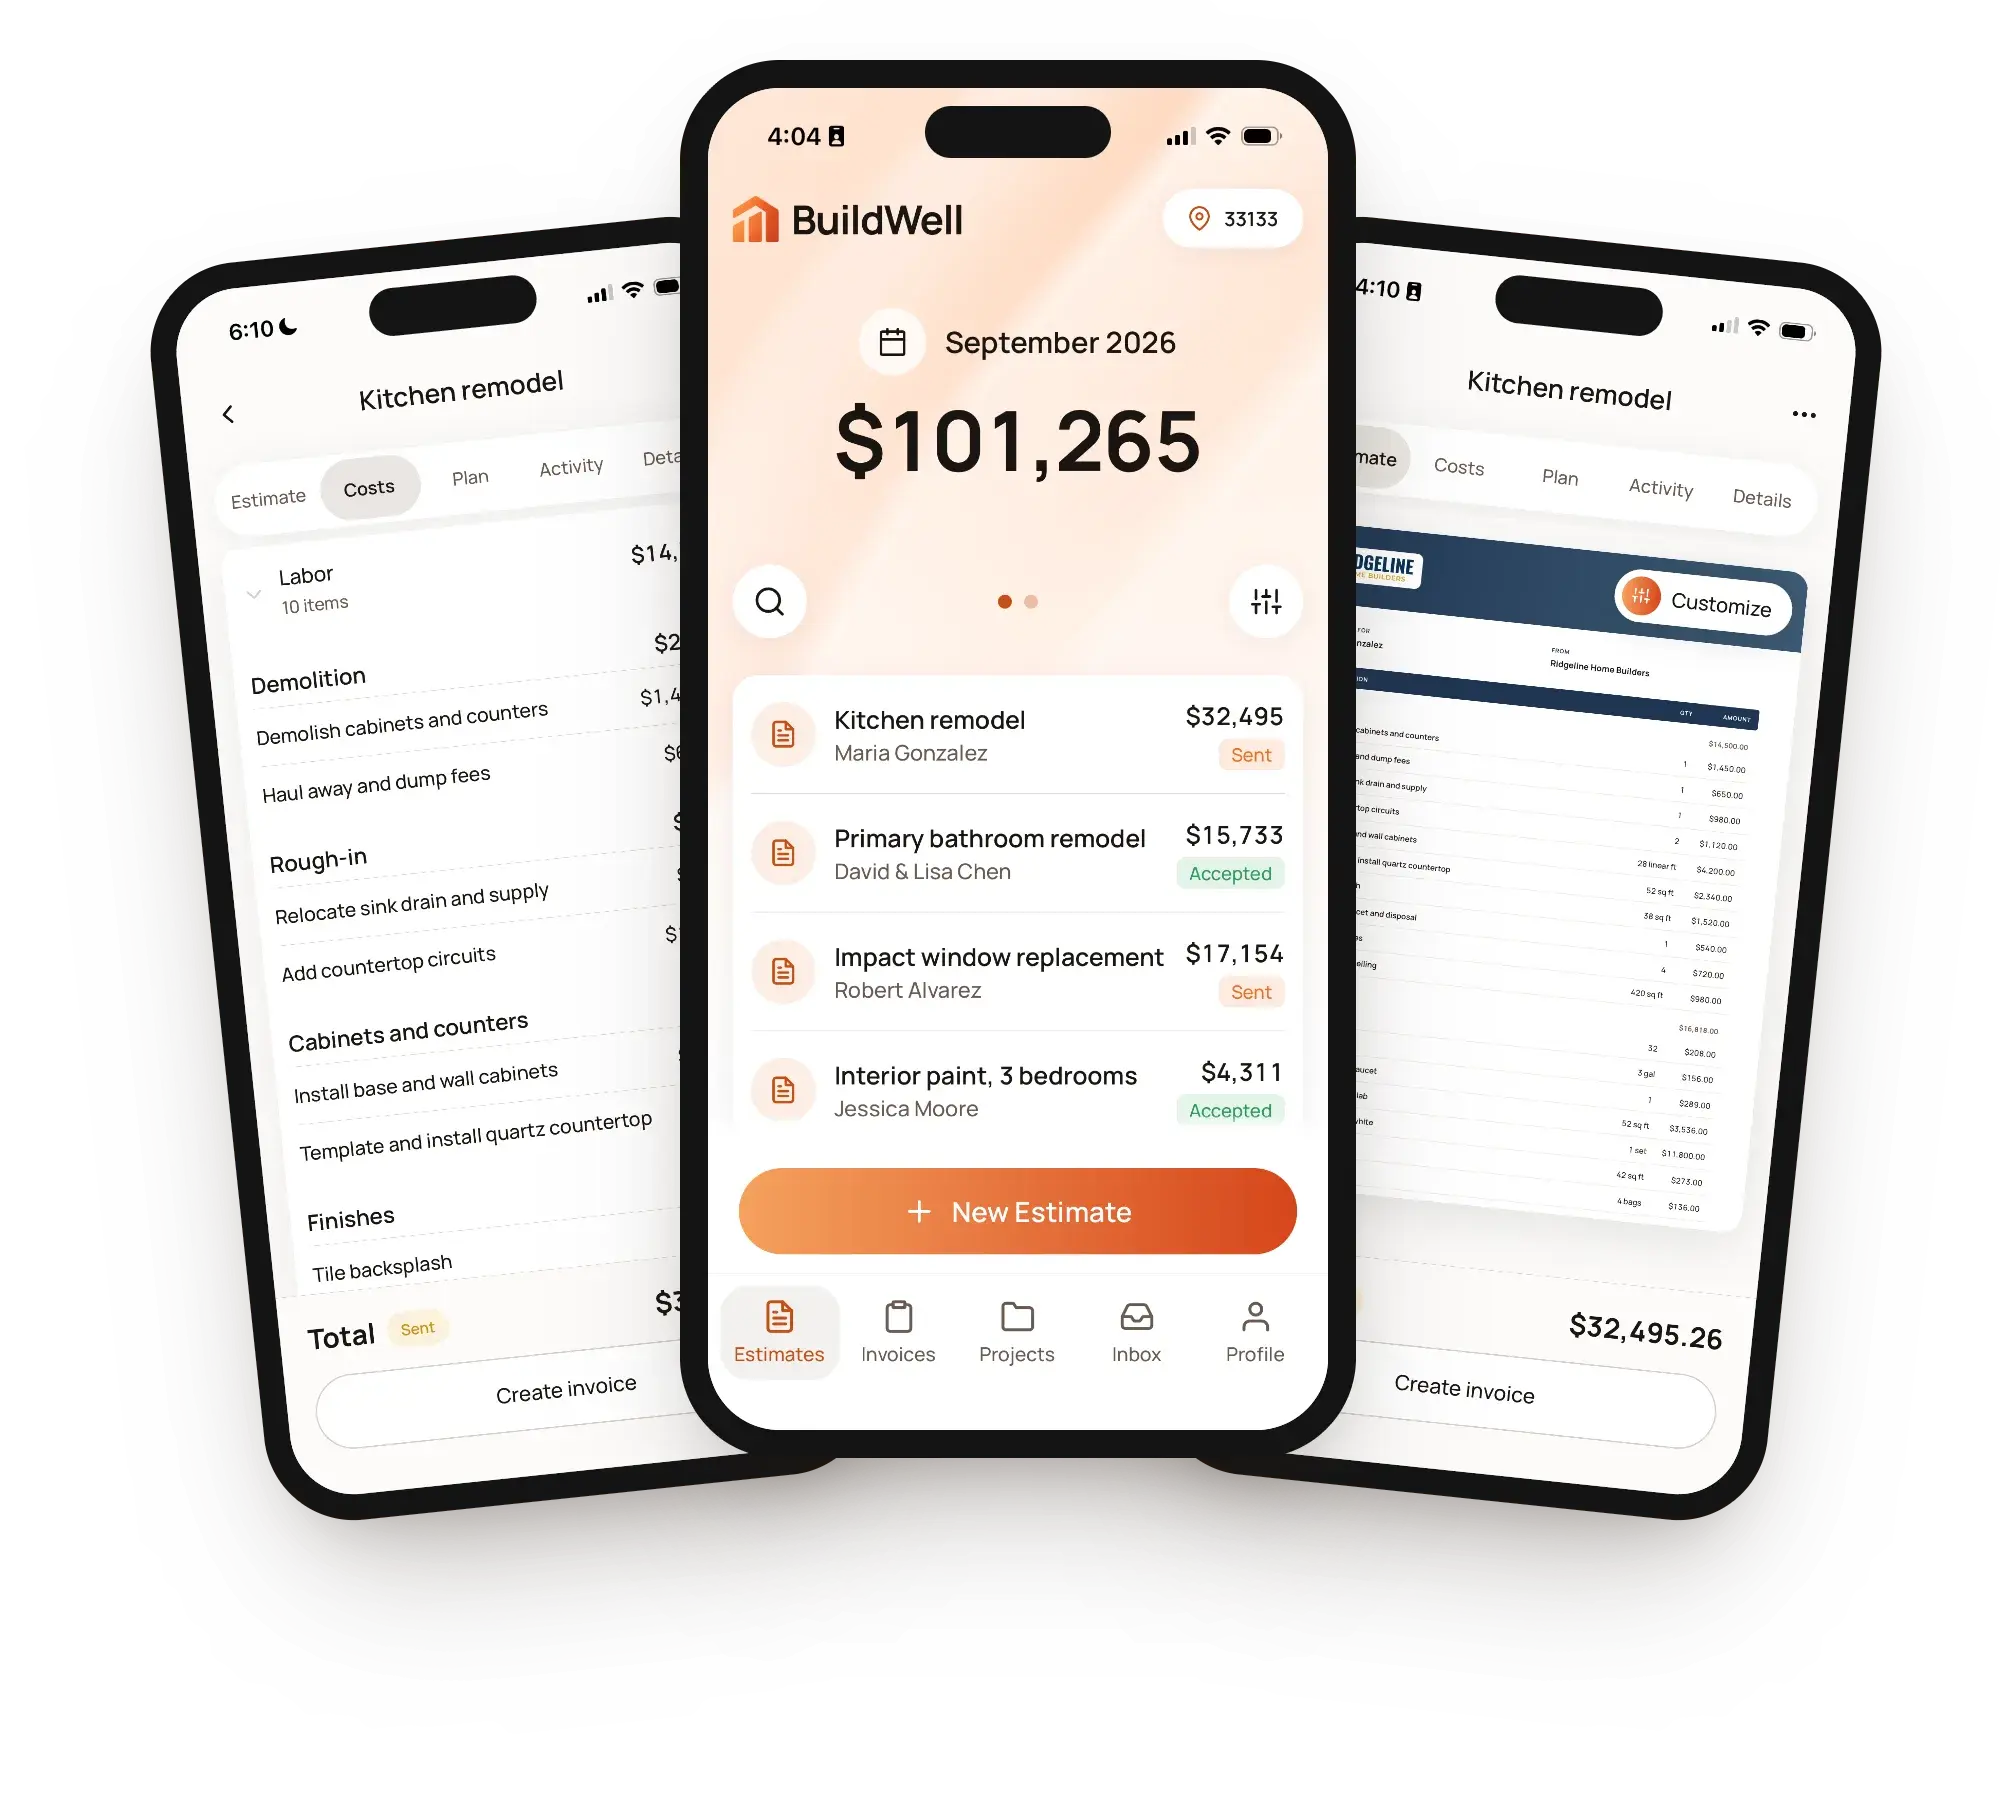
BuildWell builds an electrical estimate from a description of the job, such as "six remodel cans in a finished kitchen on three-way switches, four under-cabinet bars, three GFCIs and a new dishwasher circuit from the basement panel." The AI decides what work the job needs and how much; it does not set prices.
BuildWell prices materials at stores near the job and labor at the metro's median wage for each trade. The wiring carries the electrician wage and the patches can carry the drywall wage, plus your overhead and markup.
You can change any quantity, hour or price. The homeowner signs on their phone.
An electrical pricing checklist
- Every device, fixture and circuit counted
- Each run traced and marked open framing or fished
- Box cut-ins and patches counted, and painting assigned
- Cable counted once, rounded up to coils
- Breakers and devices that meet local requirements
- Permit fee and any inspection return trip
- Overhead on every labor hour, then profit
- Exclusions for existing wiring problems in writing
Free tools for this guide
Generators, templates, calculators and definitions. No sign-up.
Common questions
01How do I price fishing cable through finished walls?
02Should the permit be its own line on an electrical estimate?
03How do I handle code problems I find after opening a wall?
04Do GFCI and AFCI requirements change the price?
05Should I price electrical work per device or by the hour?
Estimates, signatures and invoices in one app
BuildWell prices materials at stores near the job and labor from your metro’s wages plus your overhead and markup, gets the estimate signed on the client’s phone, and turns it into the invoice.
- AI estimates priced for your area
- Estimates, invoices, clients and projects
- Clients sign on any phone
- Card and bank payments, no extra BuildWell fee
- iPhone, Android and the web
- AI estimates priced for your area
- Estimates, invoices, clients and projects
- Clients sign on any phone
- Card and bank payments, no extra BuildWell fee
- iPhone, Android and the web
Both plans include every feature and start with a 3-day free trial. Add a card to start; you’re not charged until the trial ends. Cancel anytime.
Try BuildWell today
Estimates, invoices, e-signatures and payments in one place, on your phone and on the web.