 BuildWell
How to write a contractor estimate
Write a contractor estimate clients understand and sign, from scope and takeoff to pricing, exclusions and terms, with a fully worked bathroom example.
Estimates and bids · 10 min read · Updated
The steps, in order
- 1
Walk the job and write the scope
Measure, photograph and note conditions on site, then describe the finished result in plain words, room by room or trade by trade.
- 2
Do the takeoff
Turn the scope into quantities of material, with a waste factor, and a list of the tasks your crew will do.
- 3
Price materials
Price each material at what you will actually pay near the job this month, then add your material markup.
- 4
Price labor
Estimate hours per task and multiply by a labor rate that already covers wages, burden, overhead and profit.
- 5
Add the other costs
Add permits, disposal, equipment rental, subcontractors and anything else the job needs before you add it all up.
- 6
Write exclusions, allowances and assumptions
Say what is not included, what is priced as an allowance, and what you assumed about hidden conditions.
- 7
Set terms and send it
State the deposit, payment schedule, start window and how long the price is good for, then send it for a signature.
A contractor estimate does three jobs at once:
- It tells the client what they get and what it costs.
- It tells you what you promised to do.
- It becomes the reference point for every change order, invoice and dispute that follows.
A vague estimate wins nothing and protects nothing. A clear one gets signed faster and keeps the job profitable.
This guide walks through the process in order, from the site visit to the signature. It finishes with a fully priced bathroom example you can check line by line. If you want a blank form to follow along, open the free estimate generator or download an estimate template.
What a contractor estimate needs to include
Before the steps, the checklist. A complete residential estimate has:
- Your business details: name, address, phone, email, and license number if your state or city requires one on contracts.
- Client and job details: the client's name and contact information and the job address, which may differ from the billing address.
- Estimate number and dates: the date issued and the date the price expires.
- Scope of work: a plain description of the finished result.
- Line items: tasks and materials with quantities, units and prices.
- Other costs: permits, disposal, equipment and subcontracted work.
- Subtotal, tax and total: with sales tax handled the way your state requires.
- Exclusions, allowances and assumptions: what is not included and what could change the price.
- Payment terms: deposit, progress payments and when the balance is due.
- Acceptance: a place for the client to sign and date.
Each missing item can start an argument
Missing any of these is how an estimate turns into an argument. The rest of this guide fills them in.
Step 1: Walk the job and write the scope
Everything downstream depends on the walkthrough. Measure every surface you will touch, and photograph each wall and fixture.
Look for what will cost you later
Look for the problems that will cost you later:
- Soft floors
- Old wiring
- Galvanized pipe
- A shutoff valve that will not close
- A stair that changes the delivery route
Ask the client what "done" looks like
Ask the client what "done" looks like to them. People describe the finish ("a walk-in shower with tile to the ceiling") and leave out everything between here and there. Your job is to translate the finish into work.
Describe the result, not your methods
Then write the scope of work. Describe the result, not your methods, and be specific about:
- Brands
- Sizes
- Finishes
- Who supplies what
Example: Remove existing vanity, top and toilet. Install client-selected 36-inch vanity with top, new faucet and new toilet. Replace both sink shutoff valves and the toilet shutoff. Patch and paint walls behind the old vanity in the client's chosen color, one wall only.
A precise scope rules out arguments
That paragraph already rules out several arguments. It names which wall gets paint, it says the client picks the vanity, and it says the shutoffs are new.
Step 2: Do the takeoff
A takeoff turns the scope into quantities. For each material, measure, then add a waste factor for cuts, breakage and mistakes.
Round up to how materials are sold
Tile, flooring and trim need more waste than fixtures do. Round up to the unit the material is sold in. You buy:
- Whole cartons of tile
- Whole sheets of drywall
- Whole gallons of paint
List the tasks in order
List the tasks too. A task list is the backbone of your labor estimate:
- Remove the vanity
- Cap the supply lines
- Haul debris
- Set the new cabinet, and so on
Writing the tasks down in order also shows you what you forgot, like the trip to the dump or the extra visit after the paint dries.
Step 3: Price materials
Price materials at what you will actually pay, near this job, now. A price from memory or from a supplier list that is six months old is a guess, and guesses are usually low.
Check today's prices and note the date
Check current prices at the stores and supply houses you will buy from, and note the date you checked.
Add your material markup the same way
Then add your material markup. Markup on materials pays for:
- The time you spend selecting, buying, hauling and returning them
- The risk of damage or shortages
Whatever percentage you choose, apply it consistently. Understand how it relates to profit: a 15% markup is not a 15% margin. The markup vs margin guide explains the difference.
List client-supplied fixtures at no charge
If the client is supplying a fixture, list it on the estimate at no charge. That makes it clear that installing it is included and buying it is not.
Step 4: Price labor
Labor is the hardest part of an estimate to get right, because it is the cost you control least.
Estimate hours task by task
Estimate hours task by task rather than for the whole job. Be honest about your crew's real pace, including setup, cleanup and the drive to the supply house.
Use a full labor rate, not a bare wage
Multiply the hours by a labor rate that already covers:
- The wage
- Payroll costs
- Your overhead
- Your profit
If you have not worked that number out, do it before your next estimate. The labor rate guide and the labor rate calculator take you through it. Pricing labor at a bare wage is how a busy contractor ends the year with nothing in the bank.
Step 5: Add the other costs
Before you total anything, add the costs that are not material or labor:
- Permits and inspections. If the work needs a building permit, include the fee and the time spent applying and meeting the inspector.
- Disposal. Dumpster rental, dump fees or haul-away.
- Equipment rental. Tile saws, floor sanders, lifts.
- Subcontractors. Their price plus your markup for coordinating and guaranteeing their work.
- Protection and cleanup. Floor protection, dust walls, final cleaning.
Small lines add up fast
These are the lines contractors forget when they rush. Each one is small; together they can wipe out the profit on a small job.
Step 6: Write exclusions, allowances and assumptions
This section is where an estimate earns its keep.
Exclusions: what you are not doing
Exclusions list what you are not doing:
- "Does not include repair of subfloor, framing or plumbing found to be damaged after demolition."
- "Does not include painting outside the vanity wall."
Allowances: prices for items not chosen yet
Allowances price items the client has not chosen yet: "Tile allowance of $6 per square foot, materials only." If they choose something more expensive, the difference is a change, not your loss.
Assumptions: what you expect to find
Assumptions state what you expect to find: "Assumes existing drain and supply lines are in usable condition and in the current location."
These decide who pays for surprises
When demolition turns up a surprise, these three sections decide whether the fix is a paid change order or a free favor.
Step 7: Set terms and send it
Finish with the business terms:
- Deposit and when it is due.
- Payment schedule for anything longer than a few days.
- Start window and duration.
- Expiration date for the price.
- Signature lines for acceptance.
Check your state's deposit cap
Some states cap home-improvement deposits. In California, the deposit on a home-improvement contract cannot exceed 10% of the price or $1,000, whichever is less.
Check your state. The deposits and progress billing guide covers how to structure them.
Send it the same day
Then send it while the client is still thinking about the job. An estimate delivered the same day reads very differently from one that arrives a week later.
Worked example: a bathroom vanity and toilet replacement
Example: Here is the scope from Step 1, priced in full.
The figures are example costs for illustration, not market prices. Use what you actually pay where you work.
Materials
| Item | Your cost |
|---|---|
| 36-inch vanity with top | $480.00 |
| Faucet | $140.00 |
| Toilet | $260.00 |
| Supply lines, wax ring, three shutoff valves | $65.00 |
| Paint, patch and supplies | $90.00 |
| Materials at cost | $1,035.00 |
| Material markup, 15% | $155.25 |
| Materials price | $1,190.25 |
The check: 480 + 140 + 260 + 65 + 90 = 1,035. Then 1,035 × 0.15 = 155.25, and 1,035 + 155.25 = 1,190.25.
Labor
The labor rate here is $85 an hour, a rate that already includes wages, payroll costs, overhead and profit.
| Task | Hours | At $85 per hour |
|---|---|---|
| Remove and haul vanity, top and toilet | 2.0 | $170.00 |
| Replace shutoffs; set vanity, top, faucet and drain | 5.0 | $425.00 |
| Set toilet | 1.5 | $127.50 |
| Patch and paint vanity wall | 4.0 | $340.00 |
| Labor | 12.5 | $1,062.50 |
The check: 2 + 5 + 1.5 + 4 = 12.5 hours, and 12.5 × 85 = 1,062.50.
The total
| Line | Amount |
|---|---|
| Materials | $1,190.25 |
| Labor | $1,062.50 |
| Disposal | $75.00 |
| Total before tax | $2,327.75 |
The check: 1,190.25 + 1,062.50 + 75 = 2,327.75. Sales tax, if any applies, depends on your state's rules for contractors.
Check the deposit against the cap
With a $700 deposit at signing, the balance due on completion is $1,627.75 (2,327.75 − 700). In California, that deposit would be too high.
The cap is 10% of the price or $1,000, whichever is less, and 10% of $2,327.75 is $232.775. So a California version of this estimate could ask for no more than $232.77 up front and would collect the rest as the work is done.
Exclusions turn surprises into change orders
Notice what the estimate does not say:
- It does not promise to fix a rotten subfloor at this price.
- It does not include painting the whole room.
Those exclusions are written out, so a surprise becomes a change order instead of a donation.
Presenting the estimate
How the estimate reaches the client affects whether it gets signed.
Walk the client through it if you can
If you can, walk through it in person or on a call. Point out the scope, the exclusions and the payment schedule, and answer questions before they turn into doubts.
If you send it, add two or three sentences on top summarizing what is included and when you could start.
Make signing easy, then follow up
Make accepting simple. A signature line on a PDF works. A link the client can open and sign on their phone works faster, because it removes the printer, the scanner and the trip back to your truck.
Then follow up within a few days, and again before the estimate expires.
Mistakes that cost contractors money on estimates
- Lump sums on large jobs. A single number invites haggling and hides what was included. Line items make the price defensible.
- Labor at wage, not at rate. If the hourly figure on your estimate is what you pay the helper, overhead and profit are coming out of your pocket.
- Old material prices. Prices move. Check them, and give the estimate an expiration date.
- No exclusions. Anything not excluded is arguably included.
- Slow delivery. The longer an estimate takes, the more likely the client hires whoever answered first.
- No signature. A verbal yes is hard to enforce. Get the estimate signed before you order materials.
Writing estimates faster without guessing
Speed matters, but not at the cost of accuracy. A job cost calculator helps you total a job from its parts. A bathroom remodeling estimate template or one for your own trade gives you a list of line items to start from, so nothing is left off.
How BuildWell builds the estimate
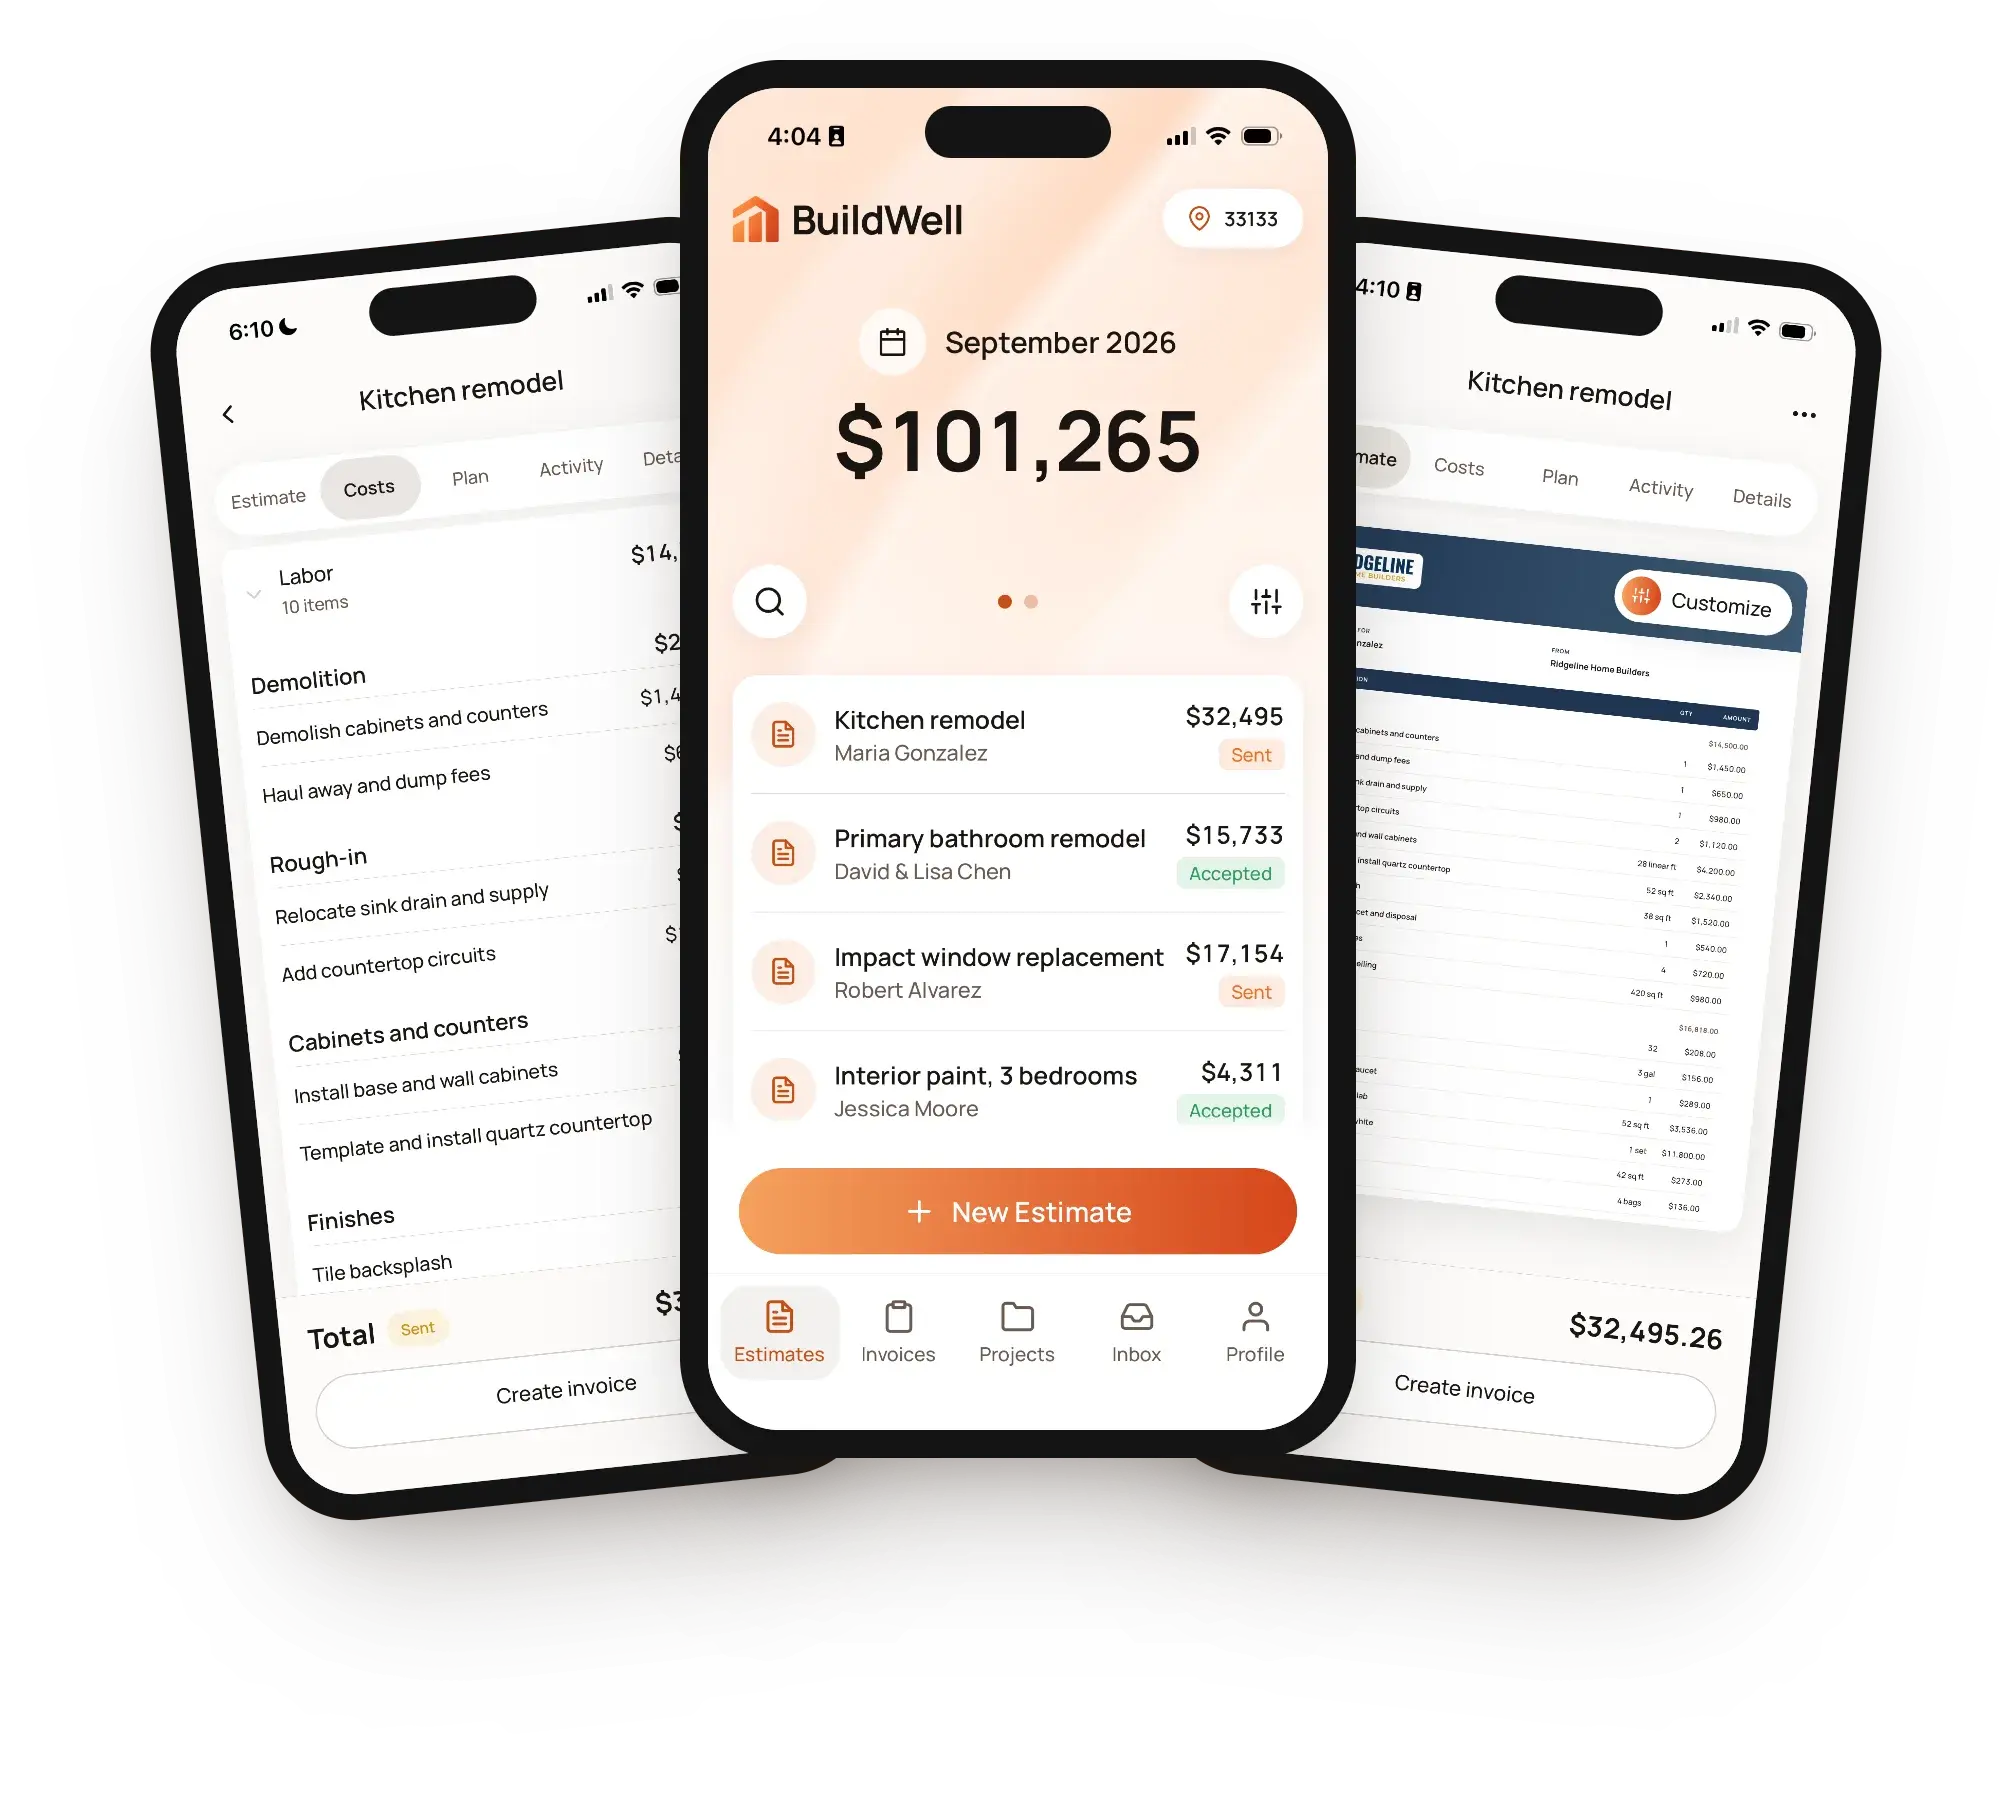
BuildWell's estimating software builds the line items from a description of the job. It prices materials at stores near the job, checked within the last 30 days. Labor starts from the median wage for each trade in your metro, plus your own overhead and markup.
The AI plans the work and quantities but never sets a price, and every line stays editable. The client reads and signs the estimate on their phone.
The same steps, in order, every time
Whatever tool you use, the steps are the same:
- Scope
- Takeoff
- Materials
- Labor
- Other costs
- Exclusions
- Terms
Do them in order, every time, and your estimates will win more of the jobs worth winning.
Free tools for this guide
Generators, templates, calculators and definitions. No sign-up.
Common questions
01What is the difference between an estimate and a quote?
02Should I charge for estimates?
03How long should an estimate be valid?
04How detailed should the line items be?
05Can I change an estimate after the client signs it?
Estimates, signatures and invoices in one app
BuildWell prices materials at stores near the job and labor from your metro’s wages plus your overhead and markup, gets the estimate signed on the client’s phone, and turns it into the invoice.
- AI estimates priced for your area
- Estimates, invoices, clients and projects
- Clients sign on any phone
- Card and bank payments, no extra BuildWell fee
- iPhone, Android and the web
- AI estimates priced for your area
- Estimates, invoices, clients and projects
- Clients sign on any phone
- Card and bank payments, no extra BuildWell fee
- iPhone, Android and the web
Both plans include every feature and start with a 3-day free trial. Add a card to start; you’re not charged until the trial ends. Cancel anytime.
Try BuildWell today
Estimates, invoices, e-signatures and payments in one place, on your phone and on the web.